All interactive songs must reside in the same folder.
And it must be the same folder specified in the set up.
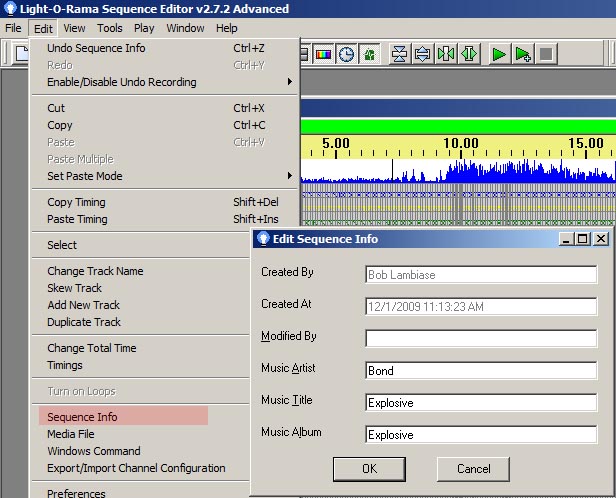
Fill in the Song name, Artist name, Album name
These values are shown to the voters to indentify the songs to vote for.
Back to top
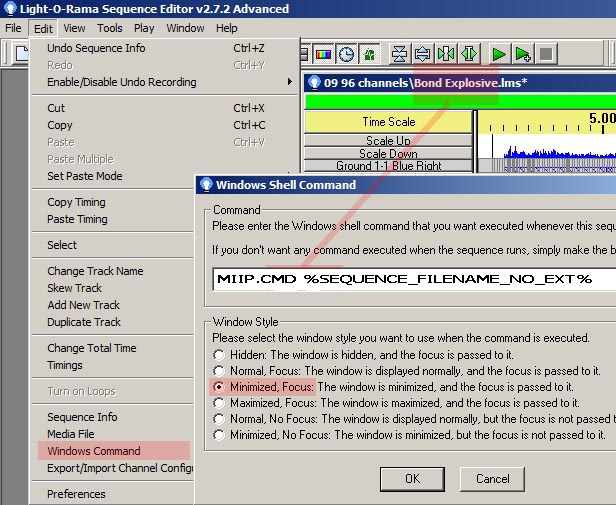
Every song will have the exact same text.
MIIP.CMD %SEQUENCE_FILENAME_NO_EXT%
EXACTLY like that. Do not substitute the file name.
This link will explain the % part.
Back to top
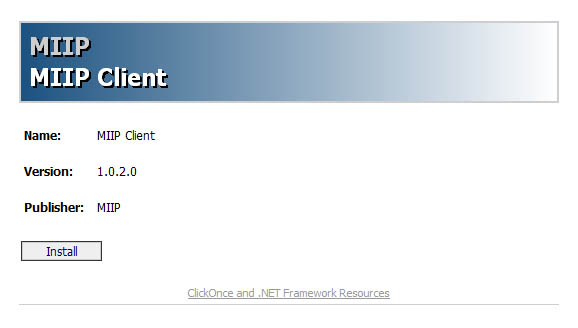
go to the MIIP install page
http://miip.mobi/install/index.html
The install page is generated by Microsoft Publish function of DotNet software used to write MIIP. Other browsers do not handle it correctly. Unfortunately, the only way supported to get MIIP is to use IE. After the initial install you dont need IE any more.
Firefox & Chrome do not work. Another evil plot by MS.
Some people gloss over this so I need to repeat it. You MUST use a Microsoft browser for the initial install of Miip. Back to top
Some people gloss over this so I need to repeat it. You MUST use a Microsoft browser for the initial install of Miip.
The Watch folder, Sequence folder, and Show folder locations all have default values which should not need to be changed.
You may change them if you have special requirements.
These values are remembered by the software and saved on your computer.
Back to top
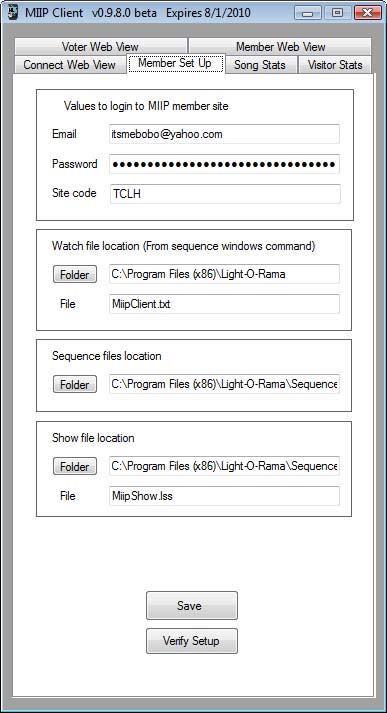
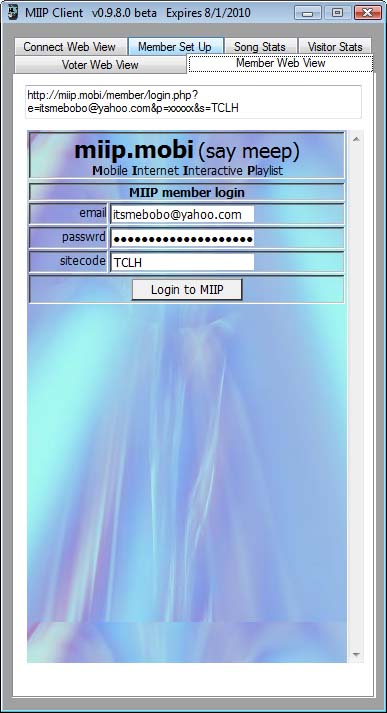
Your default login values are already filled in.
Changing your password is not done here. Login first and select 'Site' and change PW there.
Back to top
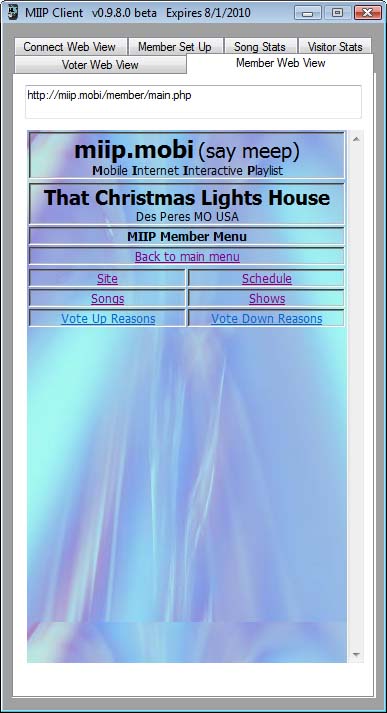
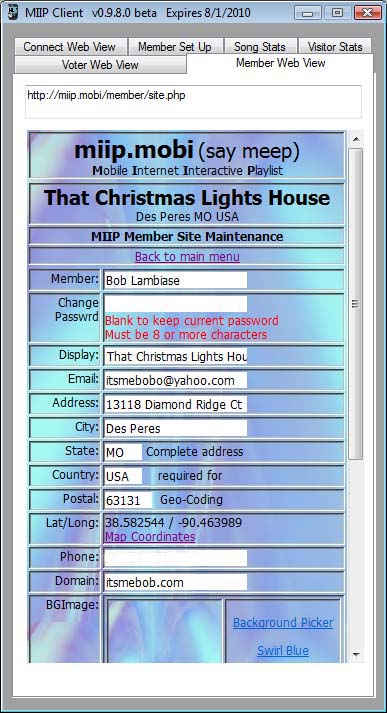
Navigate to the Site page to setup your site.
Your complete address is required for geo-coding. An incomplete address will cause the voter page to incorrectly place your display in the pulldown list and direct site guests to the wrong location.
The administrator wants to be able to contact you with MIIP updates and issues too.
If the admin determines an incomplete address is causing problems, your MIIP account can be disabled.
Save your work before clicking the background picture selection.
Back to top
The current time should be shown. If the time is incorrect, all your shows will play at the wrong time.
You may need to check Day Light Savings if you are using MIIP during those months.
Save your work before clicking the background picture selection.
Back to top
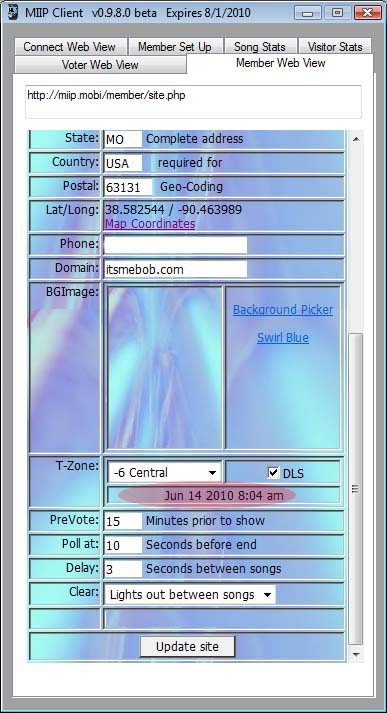
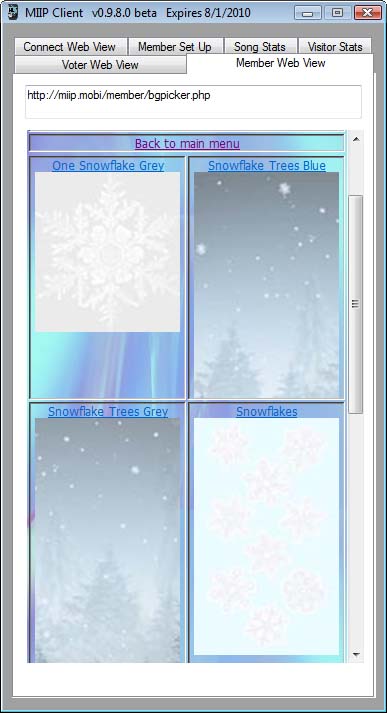
Click the background picture you want your guests to see.
If you want a different one you can send it to me and I will add it to the list. However it will be shared and available for any MIIP member to select even it it has your identity on it.
Back to top
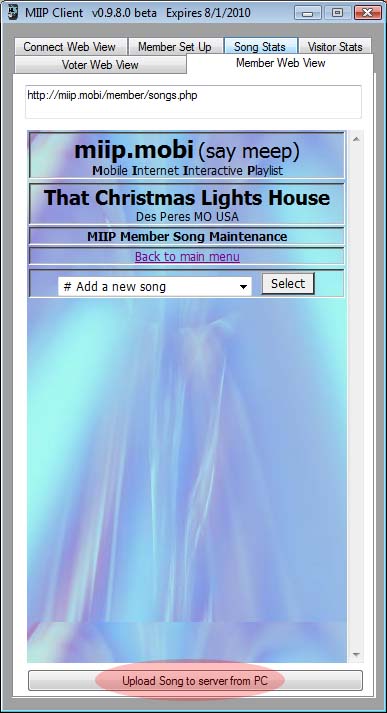
Note the important button at the bottom of the form. Click the button to select a file from your MIIP sequence folder which was set earlier.
If you select '#Add a new song' you will be shown a blank screen to fill in all the values. This is an alternate to uploading them but it requires you know and type in the values and will likely result in corrections later. Using the upload button is prefered.
Your sequence and media still play on your pc. You are just uploading the settings to allow miip to function.
Back to top
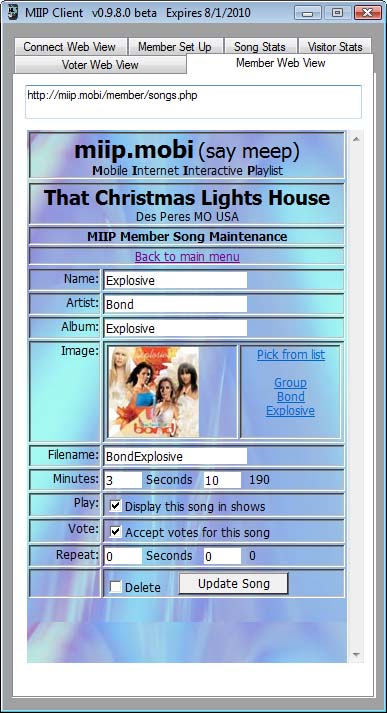
are the values you want the Voters to see.
The sequence file name must be the exact name of the sequence on your show PC.
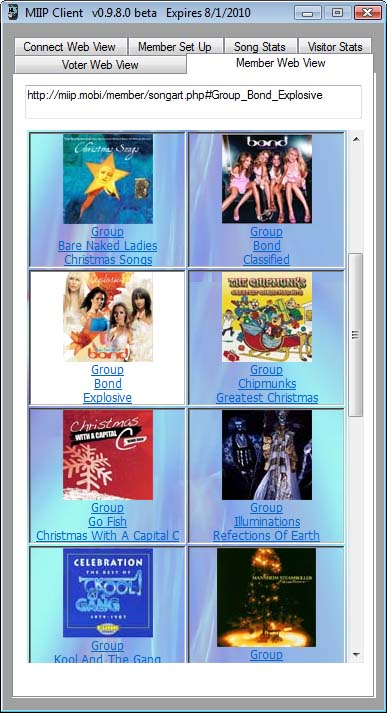
If you wish you may show the Album cover art by selecting from a list.
You may prevent a viewer from voting on a song or hide the song from the list by checking those options.
It is very important that the song duration be correct. If not, your interactive show may not function correctly.
Back to top
The picture with the white background is the one you are changing from. (Currently assigned to the song you are working on.)
Back to top
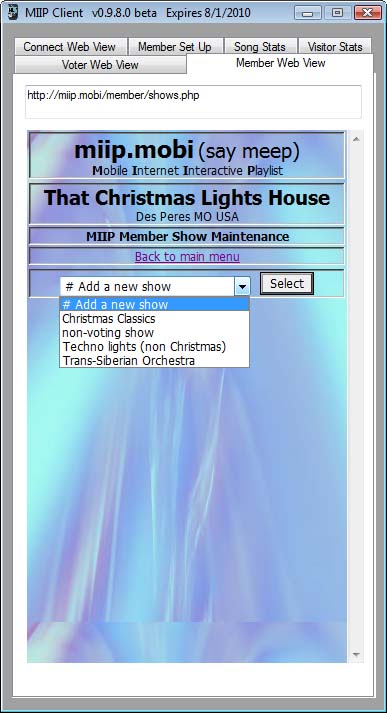
Select #Add new show from the pull downlist
After the shows are created they can be seen in the schedule editor.
Back to top
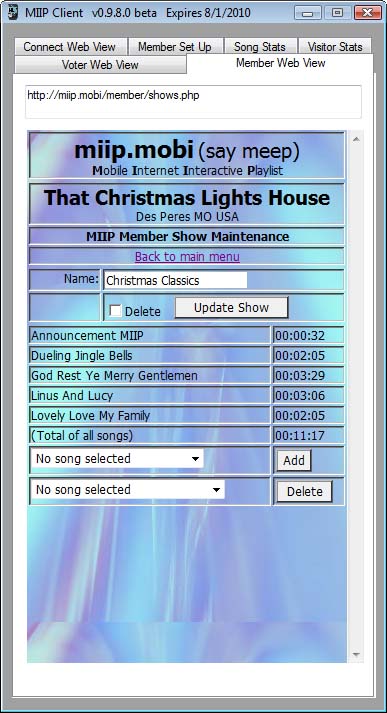
The length of each song is shown with the total show length at the bottom.
The order of songs does not matter since the voter will rearrange the song order.
The total time is for reference only since the songs play in a loop.
Back to top
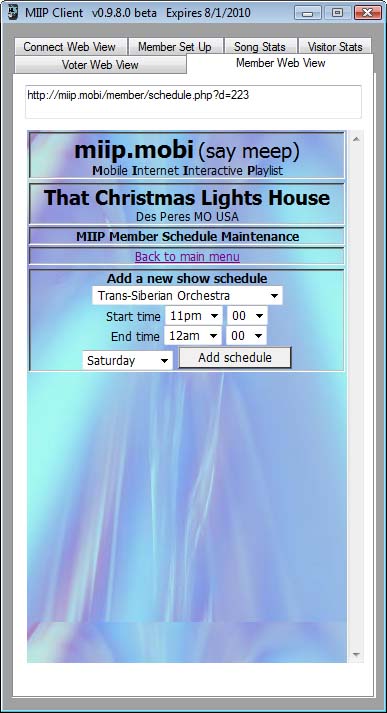
Select the show from the ones you previously created. Then the day and start and end time.
You can select a single day of the week or set the same show schedule for every day of the week.
Shows may cross over midnight into the next day. But you can not create a show which lasts more than 12 hours.
Back to top
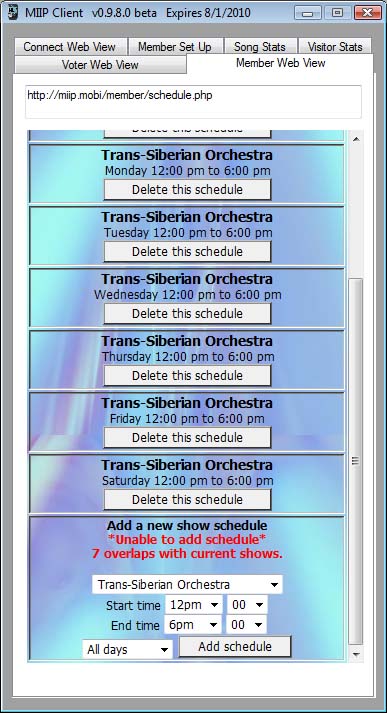
Message in red explains the problem.
Back to top
For simplicity you can cover all time with MIIP by adding MiipShow.lss for 24 hours each day. MIIP will function fine this way.
If you only want MIIP for certain days or hours you can to that too. Your MIIP.mobi page will say no show is active.
Back to top

From the member setup tab click verify. Numerous tests are performed to uncover problems which are noted on the tabs.
The verify takes one second for each non-mp3 song to play while media player checks it.
If your MIIP schedule and LOR schedule are out of sync it is noted on the Verify schedule tab.
Back to top

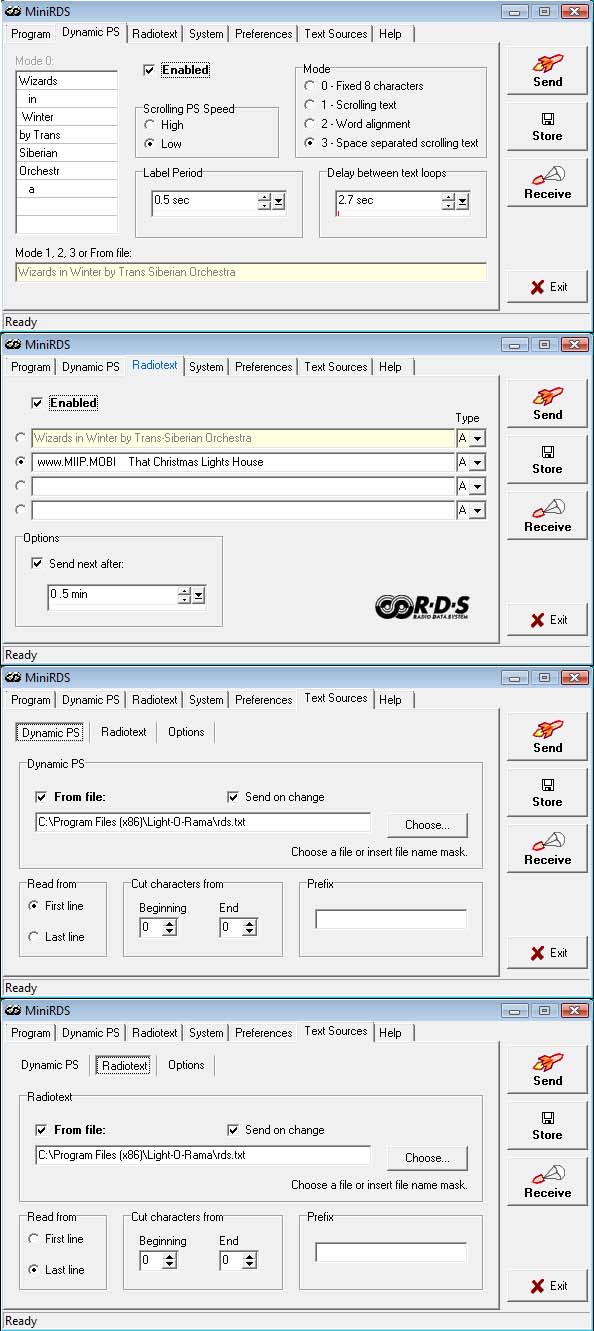
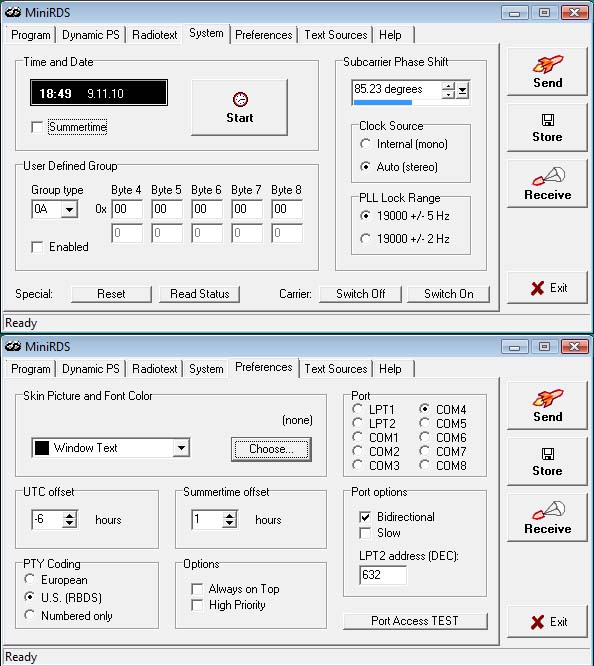
These are the Mini RDS settings I am using. I am sure others will work too. I have elected to use both PS and RT. The file should be the same as you specified on the MIIP setup tab.
All the wording comes from the file which is created by MIIP from the song setup. You can override the song name and artist by entering your text in the RDS fields on the MIIP song page.
If you get a message during upgrade/install which says this application is already installed.
Follow these directions. Close your Chrome or Firefox browser and open Internet Exporer or Edge. Then try again.Download MIIP and Install. MUST use a MS browser.
Repairing a Corrupt ClickOnce Application Cache
ClickOnce is a Microsoft technology that enables the user to install and run applications including MIIP. ClickOnce applications are installed in a specific user directory. This directory, or cache, may be corrupted resulting in errors during installation such as “Value does not fall within the expected range.”, etc.
Running the following command from an Administrator elevated command prompt will repair the cache:
rundll32 %windir%\system32\dfshim.dll CleanOnlineAppCache
If the previous command does not resolve the issue, it may be necessary to remove the ClickOnce application store:
- In Windows Explorer, click on “Organize > Folder and Search Options > View” and enable “Show Hidden Files, Folders, and Drives“.
- Navigate to the following location:
C:\Users\<Your_User_Name>\AppData\Local\Apps\2.0\
- Backup all folders if you are worried about recovering them.
- Delete all folders in the \2.0\ folder.